Here is a step by step guide on starting an Order.
1. Login your Droptop Account at https://www.droptop-app.com/dash
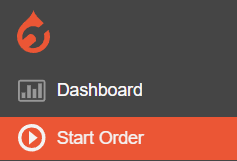
2. On the panel on the left, click "Start Order".
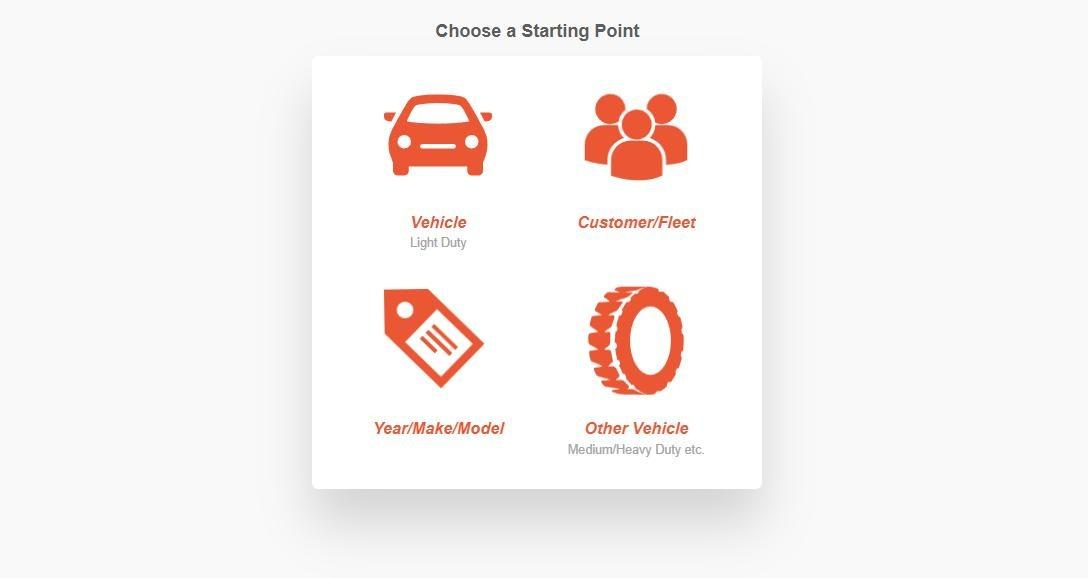
3. You can begin an order using one of the following four options:
- By Vehicle – Enter the VIN or License Plate.
- By Existing Customer or Fleet – Select from pre-saved customer or fleet details.
- By Year/Make/Model – Enter the vehicle’s year, make, and model information.
- By Other Vehicles – For vehicles not classified as "Light Duty," such as ATVs, tractors, machinery, etc.
4. Based on the option you choose to start an order, you’ll be prompted to provide the following details:
- Vehicle Specifications – Enter details such as Submodel, Mileage, License Plate, and Fleet ID.
- Customer/Fleet Information – You can create a new customer or fleet profile or select an existing one.
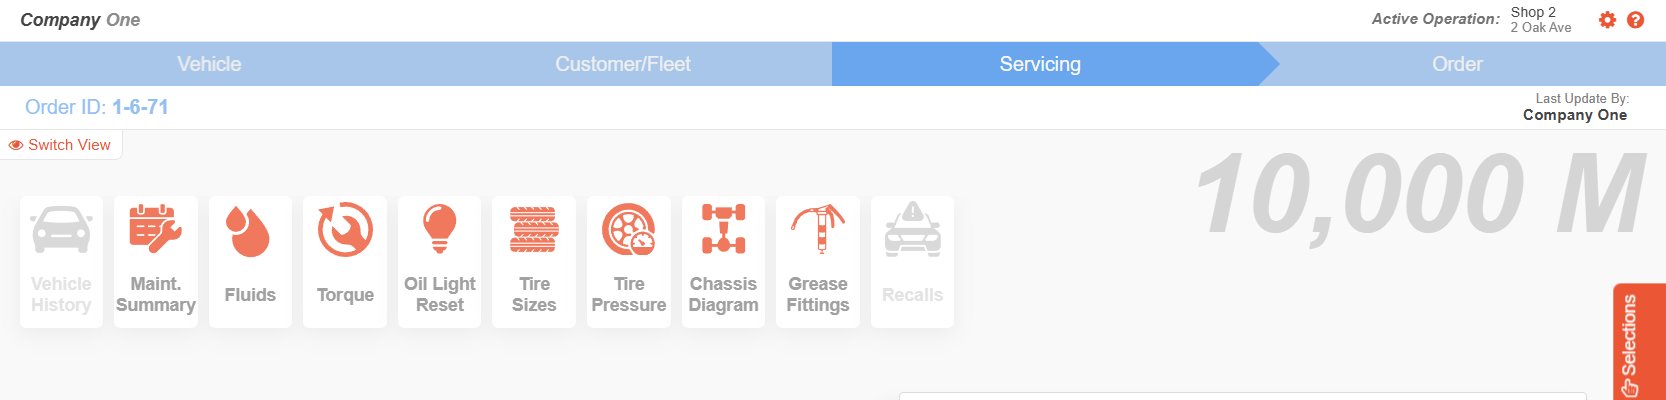
5. Once completed, you'll be on the Servicing tab, which contains all your service packages. This section also includes the following highlighted tabs:
Vehicle History – CARFAX & Droptop Orders
Fluid Specs
Torque Specs
Tire Pressure
Maintenance Summaries – Service Recommendations
Recalls – Flagged Issues with the Vehicle
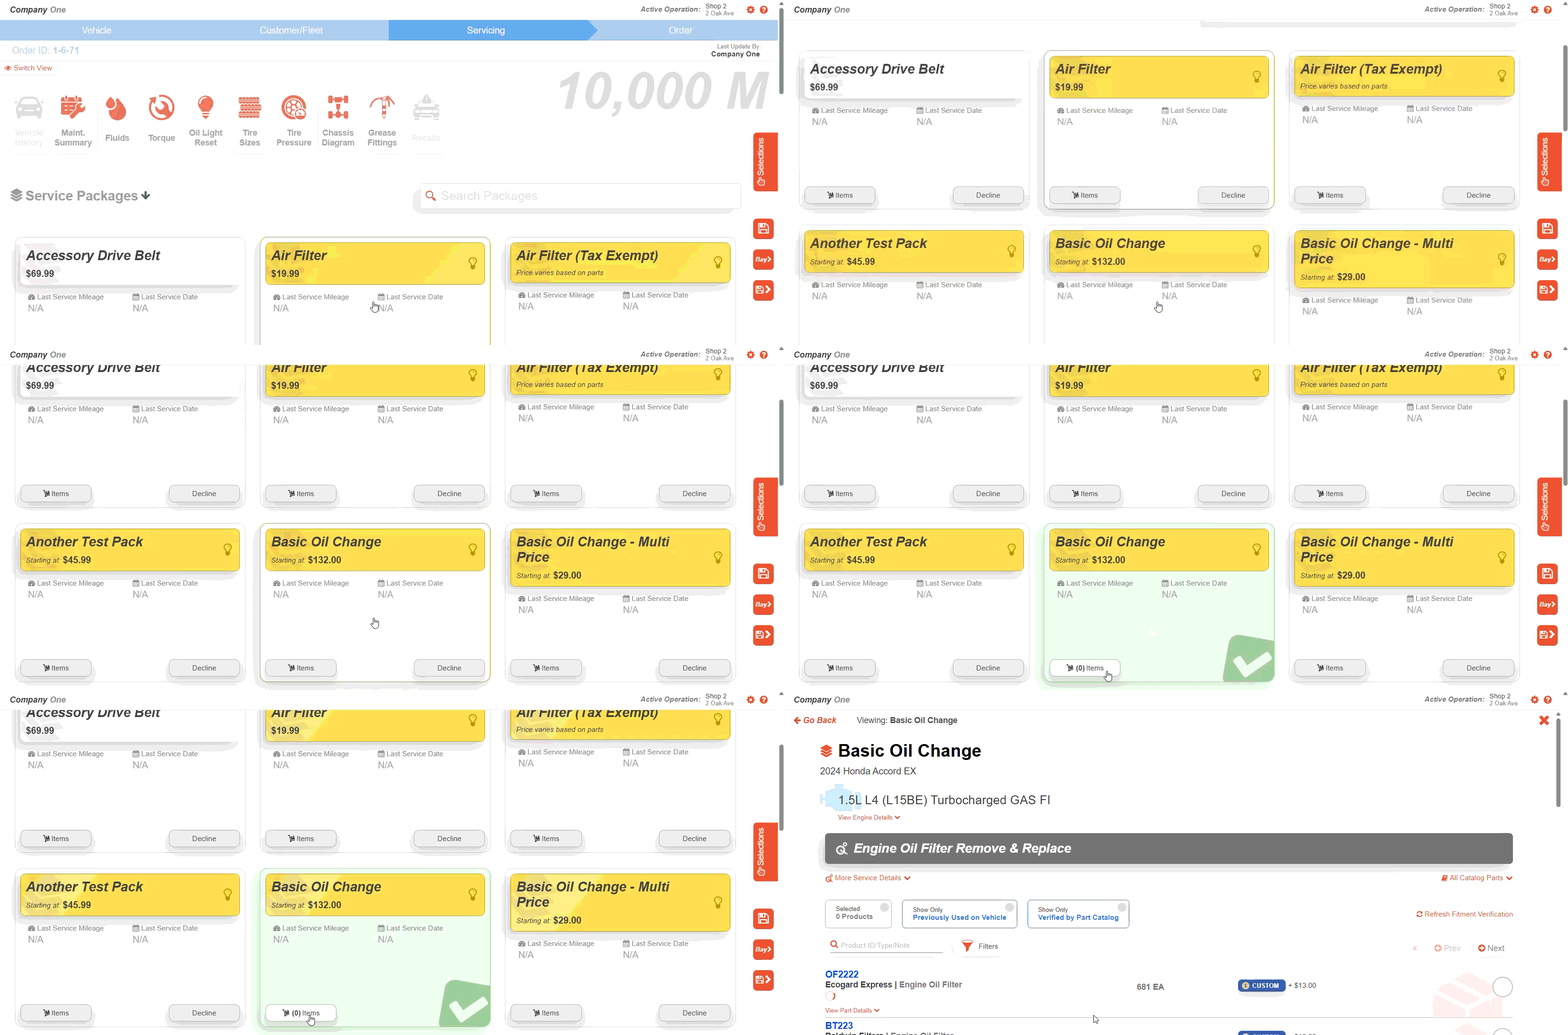
6. For this example, we will be servicing an oil and filter change for the vehicle built into a basic package. To add a package to the order, simply locate the desired package and click on items button to bring up the inventory list. Once the inventory list is open, you can specify the fluid or parts that fit the vehicle.
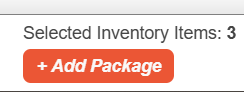
7. After selecting the parts from the inventory list, click on +Add Package at the bottom left. If the button is greyed out, you should verify your quantity selections.
8. After adding all the service packages or inspections to the order, click the highlighted Save & Continue button on the right hand side to proceed to the Invoice page.
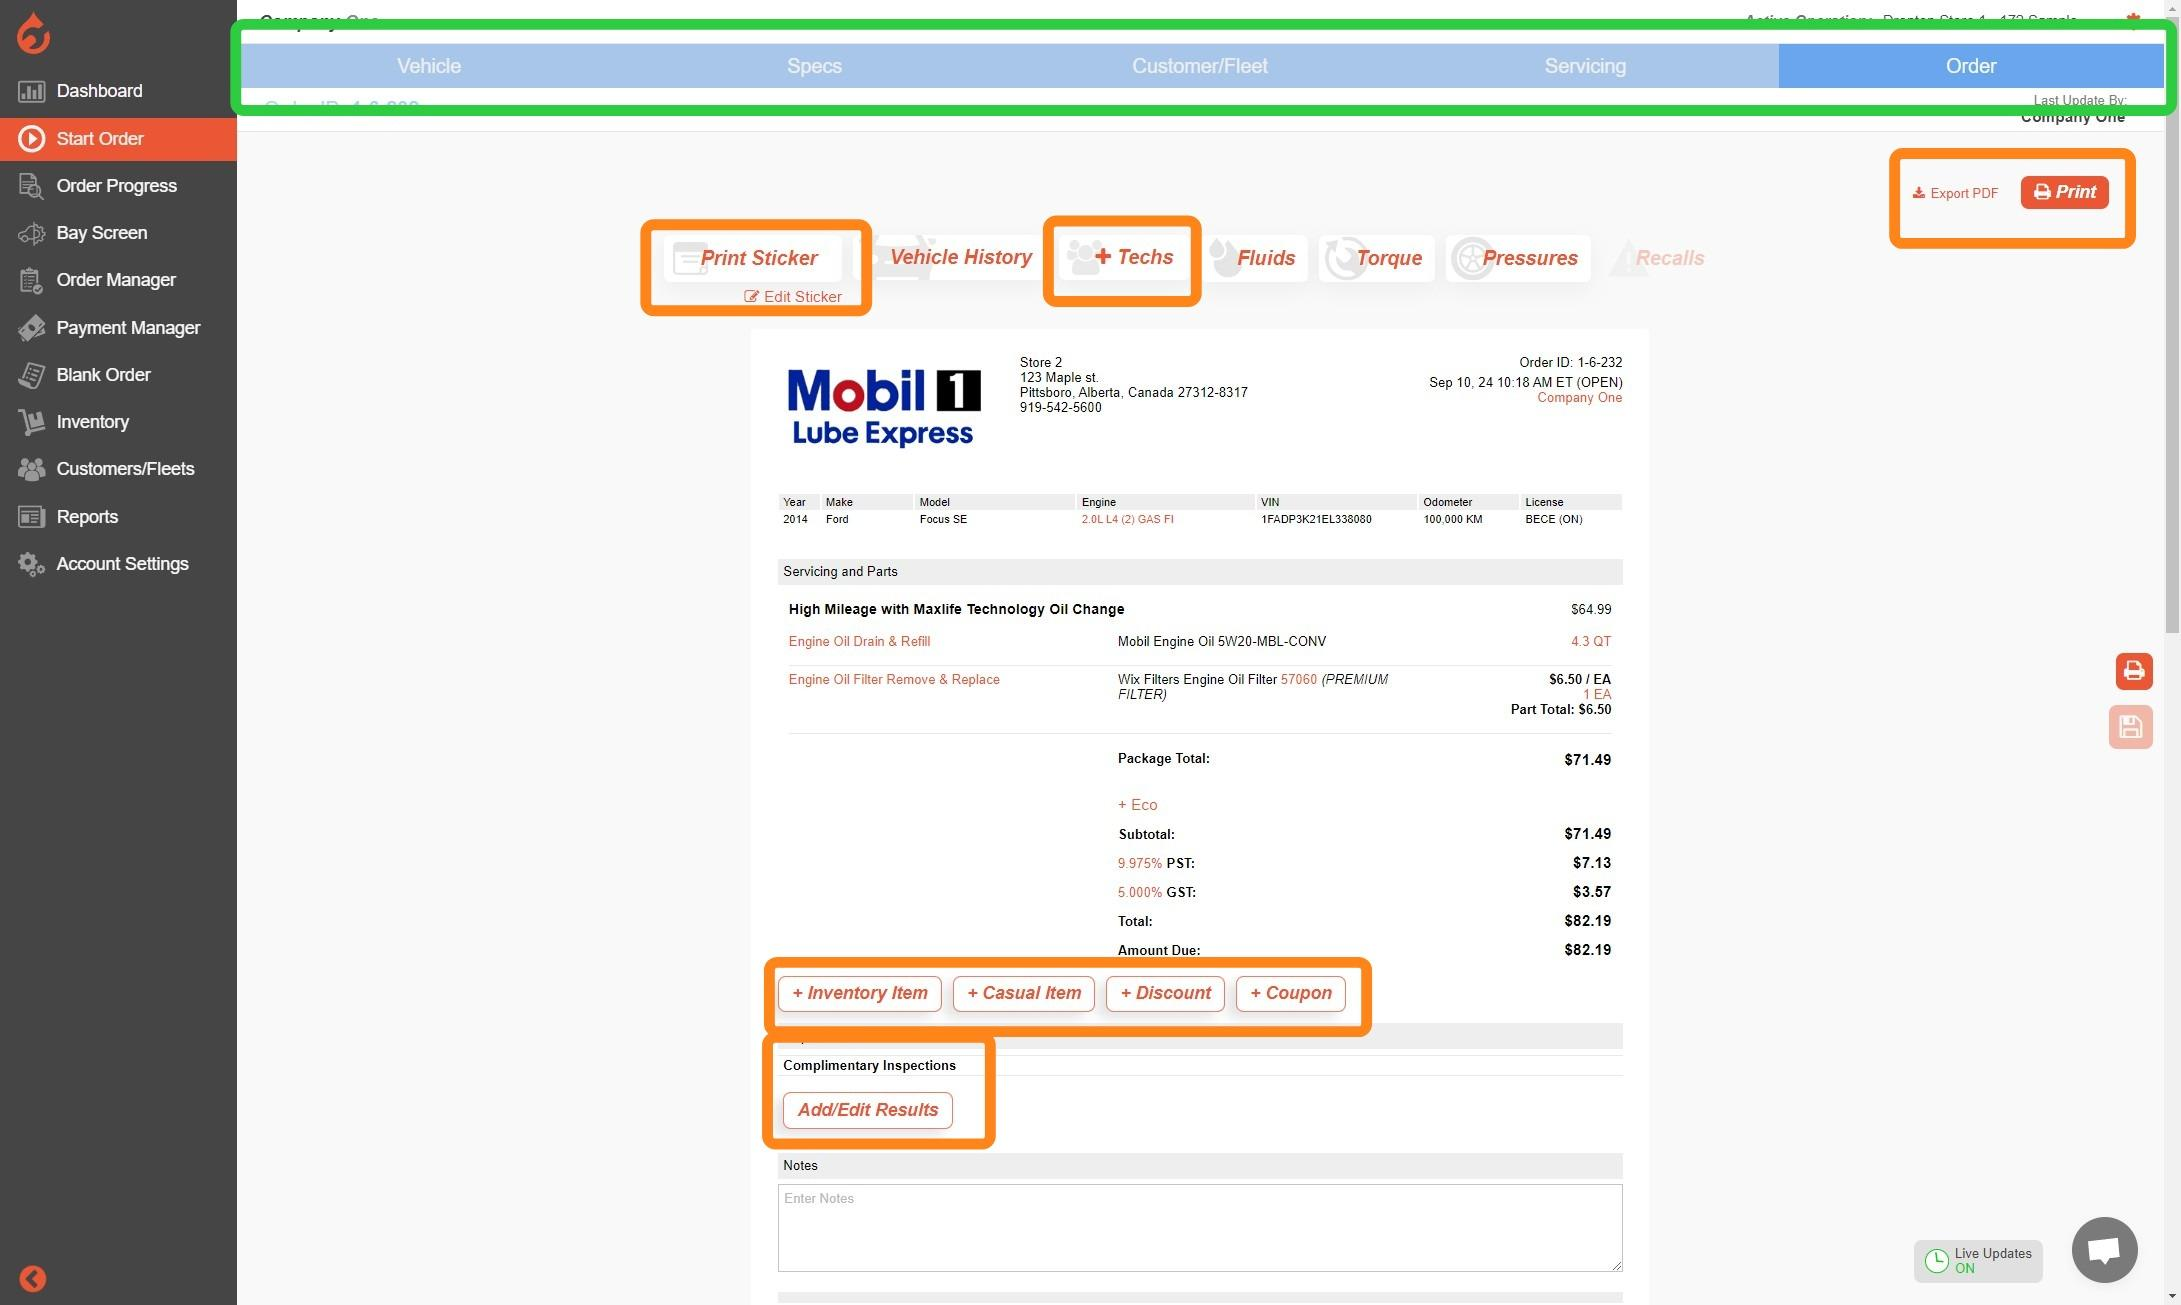
9. You are now on the last tab which is the Order Invoice section. On this page you can view the invoice, and for the options highlighted in orange you can perform the following:
Print/Edit Sticker
Add Technicians to the Order
Export or Print the Invoice
Add inventory parts, casual items (e.g., fees), discounts, and coupons
Add Inspection Notes or Images
If you need to go back at any point, use the tabs at the top (highlighted in green) to navigate between the different sections.
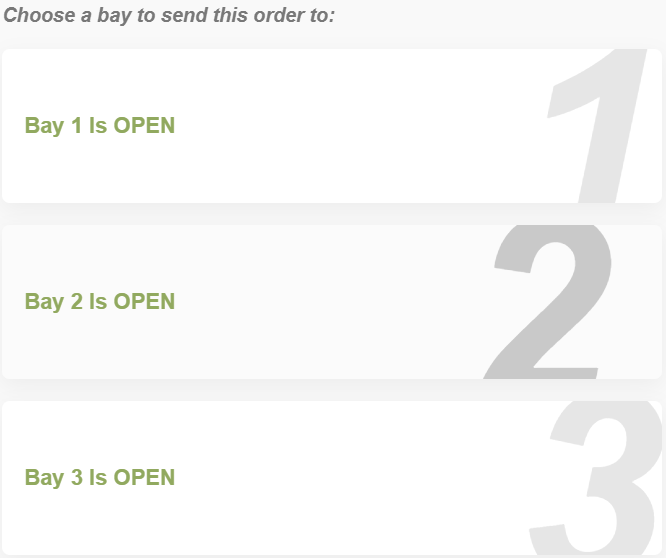
10. If you're ready to service the vehicle, scroll down to the bottom and click on "Send to Bay." Then, select the bay you want to send it to.
11. You've successfully completed the steps to start an order.
If you need to review or adjust any details, remember you can always navigate between sections using the tabs at the top. You're now ready to move forward with servicing the vehicle.
If you have any questions, please do not hesitate to reach out to us via live chat.
Was this article helpful?
That’s Great!
Thank you for your feedback
Sorry! We couldn't be helpful
Thank you for your feedback
Feedback sent
We appreciate your effort and will try to fix the article