Images can be added to an order invoice only when an inspection group is present on the ticket. Follow the steps below to add an image to an invoice.
1. Navigate to the Order Manager and open up the ticket you would like to add an image to.
2. Click on "Edit Live Order" and ensure you are on the Order tab.
3. Locate the inspections section and click the "Add/Edit Results" button as seen below
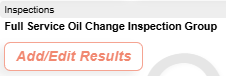 Note: If you do not see any Inspection Groups on the invoice, you must add one first. Go to the Servicing tab and select the required inspection group.
4. In the Inspection Group, select the appropriate inspection result by clicking the circle next to it, then click + Image to add an image to that result.
5. Select the file from your computer and click on Upload Image Now.
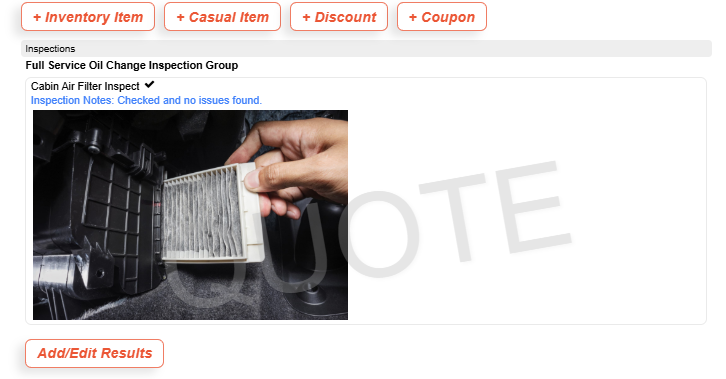
6. You're all done! You can verify that the image is showing on the invoice. See example below:
Was this article helpful?
That’s Great!
Thank you for your feedback
Sorry! We couldn't be helpful
Thank you for your feedback
Feedback sent
We appreciate your effort and will try to fix the article